Getting Started
This chapter contains step-by-step instructions to both create a VPSA Object Storage and then to configure its storage properties.
Important
Zadara’s web applications allow only TLS 1.2 and higher, which is the recommended TLS level by industry standards. The TLS (Transport Layer Security) protocol secures transmission of data over the internet using standard encryption technology.
The VPSA management interface web application is supported in all modern browsers. We recommend using Google Chrome, Firefox or Microsoft Edge for an optimal user experience.
Register a Zadara Account
To register for a new Zadara account, go to https://manage.zadarastorage.com/register/ and complete the registration form.
Creating a VPSA Object Storage
Log on to your Zadara Provisioning Portal at https://manage.zadarastorage.com, or at your private cloud, using your username/email & password.
Note
It is recommended to enable MFA (Multi-Factor Authentication) in order to add an additional layer of security to your account.
Click Create Cloud Service.
Select Zadara Cloud Service or Public Cloud Service. Click Next.
Select Location. Click Next. The Create new VPSA Object Storage wizard will open. The wizard has 4 steps: Service, Name, Engines and Drives, and Review. Wizard progress is shown as the top of the view.
In step Service, select Object Storage. Click Next.

In step Name, enter the following fields:
VPSA Name - give the Object Store a name. This is how it will appear in the Cloud Console and in the GUI. If you are planning on having multiple VPSA Object Storage configurations, you might want to give it as detailed a name as possible.
Note
Name should contain only letters, numbers, and underscores, and cannot contain spaces.
VPSA Description - free text description.
Object Storage Profile - select Standard/Premium/Premium Plus. For addition information about the VPSA Object Storage profiles, see VPSA Object Storage Profiles
Click Next.
In step Engines and Drives, enter the following:
Redundancy Level supported
Single zone VPSA Object Storage
2-Way Protection
Erasure-Coding 2+1 or 4+2 (using 3 Fault Domains), 6+2 or 9+3 (using 4 Fault Domains)
Multizone HA VPSA Object Storage - all the above policies support MZ deployment.
Please refer to VPSA Object Storage Profiles for additional information and requirements regarding Object Storage Data policies.
With 2-way redundancy, 2 copies of each object are maintained. Erasure coding protection is done in 2+1 and 4+2 configuration and requires 50% extra capacity for redundancy. 6+2 or 9+3 configuration requires 33% extra capacity for redundancy.
Drive Quantities - select the type and number of Drives that you would like to allocated to your VPSA Object Storage.
The Zadara Cloud orchestrator allocates dedicated drives.
Drives are allocated from as many different Storage Nodes as possible to provide max redundancy and availability.
The number of drives that can be selected depends on the protection level required.
For 2-way protection, 4 - 24 drives can be added to the system in one operation.
For erasure coding, 3 - 48 drives can be added to the system in one operation.
For 2-way protection, an even number of drives must be selected.
For Erasure Coding protection the number of drives must be divisible by the EC redundancy policy (e.g. for 4+2 protection, the number of drives must be divisible by 6).
Note
While it is technically possible to create a VPSA Object Storage using a minimal drive count to fulfill basic storage needs or to perform a functional proof of concept, it is important to note that such a setup may not be suitable for demanding production workloads. A smaller storage solution typically lacks the necessary scalability and performance capabilities required to handle the rigorous demands of a production environment. In scenarios where data growth, high-volume transactions, or complex data processing are involved, it is strongly advised to start with higher drive count and a larger engine that can ensure optimal performance and reliable storage management. Prioritizing a well-designed storage infrastructure can prevent potential bottlenecks and other issues that may hinder the smooth operation of critical business applications.
Click Next.
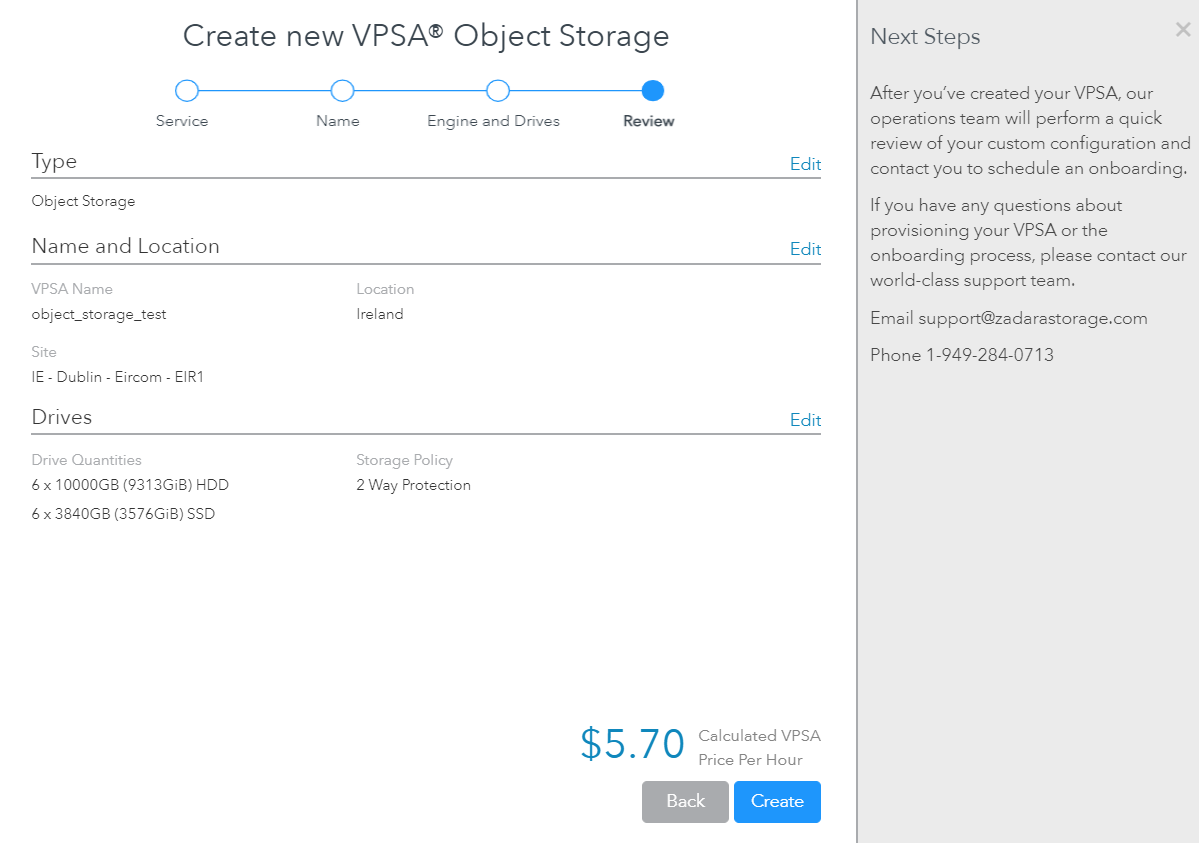
In step Review, you can review all the configured information. To change anything, click Back and return to the desires step and correct as needed. Once everything is OK, click Create.
The requested Object Storage, will appear in the “Awaiting Approval” list until approved by a Zadara Storage Cloud admin.
Once approved, the new system only takes a few minutes to launch. During that time the Object Storage status will be changes to “Launching”.
Once ready, you’ll receive an email with a temporary password to the registered email address.
The VPSA Object Storage web management interface is accessible using the Management URL displayed in the portal.
Use your registered username or email address, and the temporary password, to enter the management interface. You will be immediately prompted to set a new password for your VPSA Object Storage Admin account.
Note
It is recommended to enable MFA (Multi-Factor Authentication) in order to add an additional layer of security to your account.
Congratulations! You have successfully created and provisioned new VPSA Object Storage.
The newly created VPSA Object Storage already has a single account named “zios_admin”, and you are the only user defined “admin” with the role of “VPSA Object Storage Admin”. You can now manage your VPSA Object Storage - create containers and start uploading objects, or create additional accounts and users for others to use.
Creating an Object Storage Account
Log on to your Zadara Provisioning Portal at https://manage.zadarastorage.com, or at your private cloud, using your username/email & password.
Note
This example uses the Zadara Storage provisioning portal https://manage.zadarstorage.com. In case you have your own Zadara Cloud deployment, replace the example URL with your own URL or IP address of your Provisioning Portal.
Note
It is recommended to enable MFA (Multi-Factor Authentication) in order to add an additional layer of security to your account.
Click Create Cloud Service.
Select Zadara Cloud Service or Public Cloud Service. Click Next.
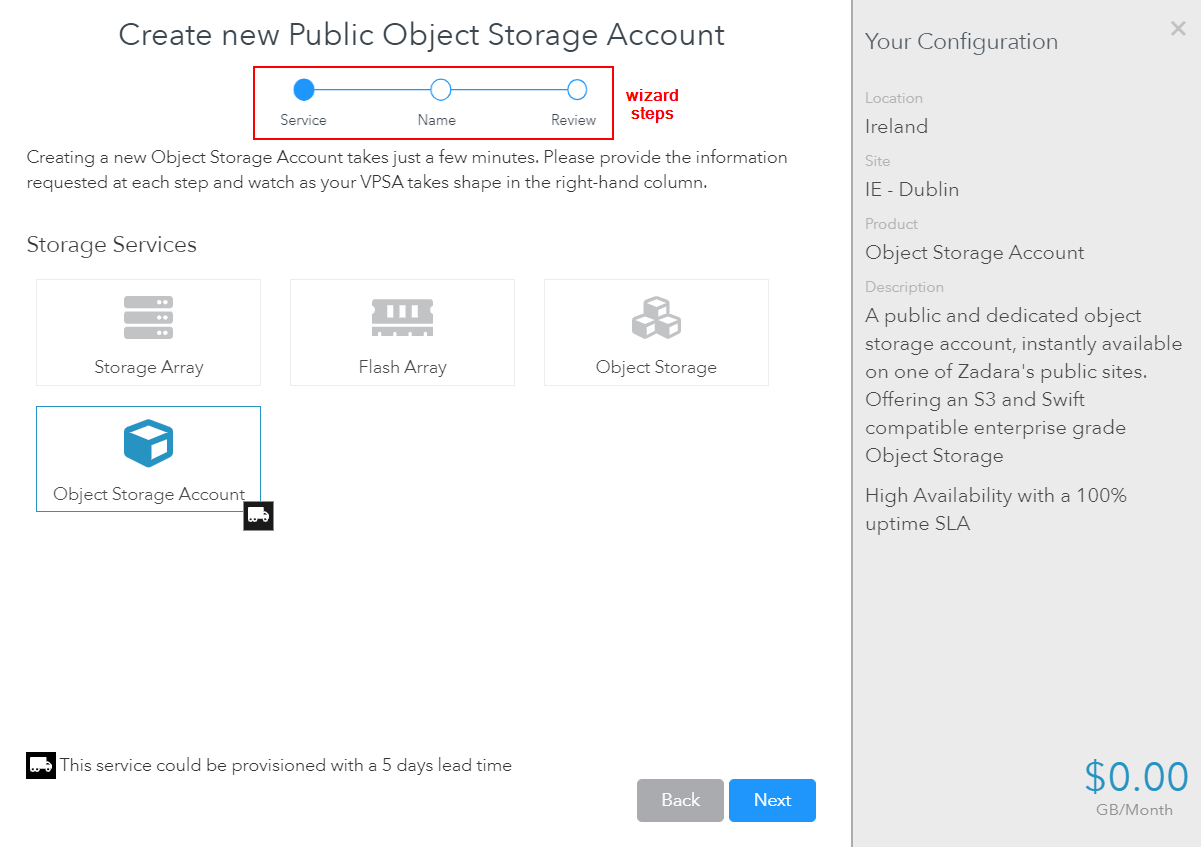
Select Location. Click Next. The Create new VPSA Object Storage wizard will open. The wizard has 3 steps: Service, Name, and Review. Wizard progress is shown as the top of the view.
In step Service, select Object Storage Account. Click Next.
In step Name, enter the following fields:
Account Name
Administrator User Name
Password and confirmation
Click Next.
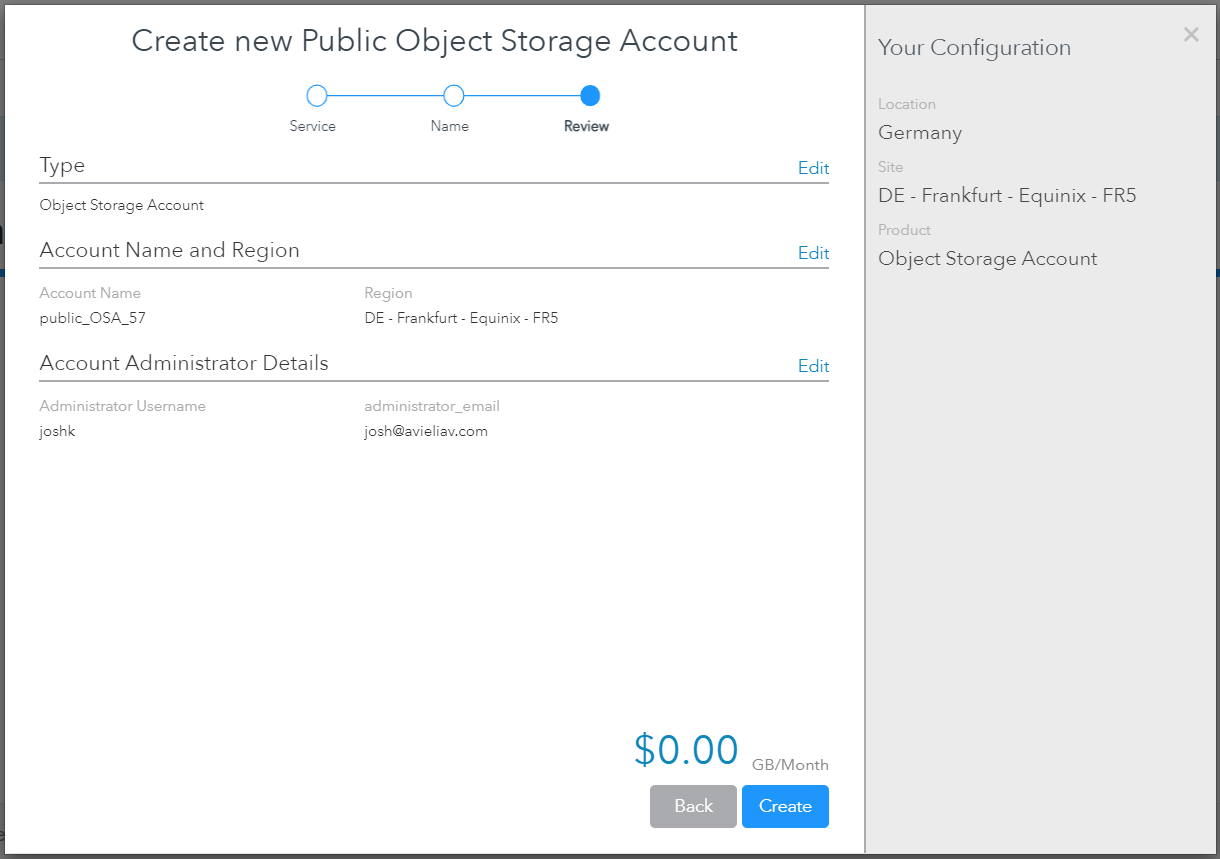
In step Review, you can review all the configured information. To change anything, click Back and return to the desires step and correct as needed. Once everything is OK, click Create.
The requested Object Storage Account, will appear in the “Awaiting Approval” list until approved by a Zadara Storage Cloud admin.
Once ready, you’ll receive an email confirming the approval.
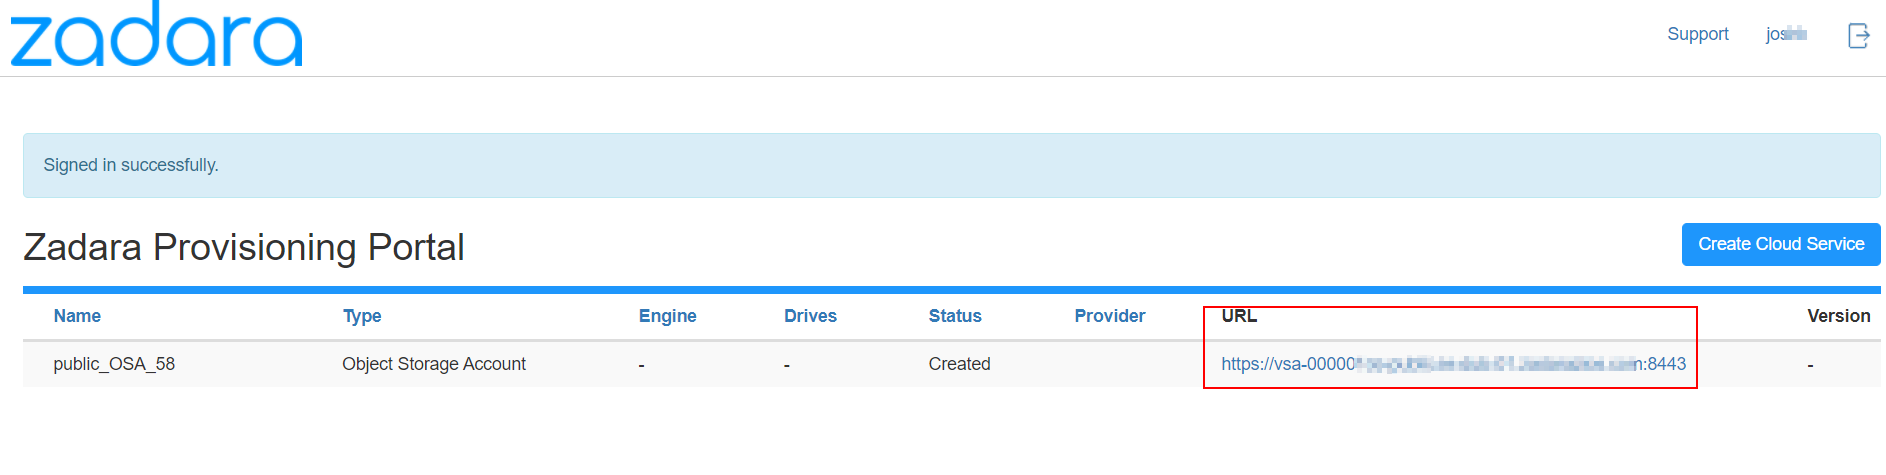
The Object Storage Account web management interface is accessible using the Management URL displayed in the portal for the new account.
Congratulations! You have successfully created a new VPSA Object Storage Account.
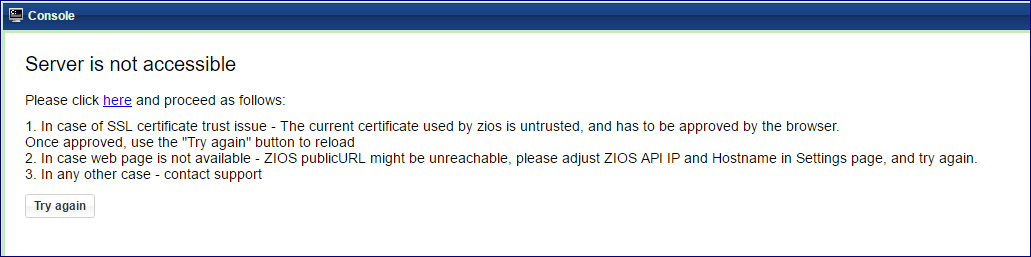
Troubleshooting Access Issues
When opening the console for the first time after changing the default settings, you might get the following error message, as a result of wrong network configuration, or lack of SSL certification trust. Follow the instruction to fix the situation.
Understanding the VPSA Object Storage User Interface
The web management interface changes according to the context of the user that logs in. The User’s Role determines the actions, available for each specific user.
Management Interface as seen by the VPSA Object Storage Administrator
The web management interface as seen by the VPSA Object Storage (zios_admin) account users includes the following:
Dashboard
Resources Management (Drives, Policies, Reports, VPSA Object Storage Console)
System Settings
Accounts Management (Accounts, Users, Roles, Requests)
Logs (Access Log, Event Log)
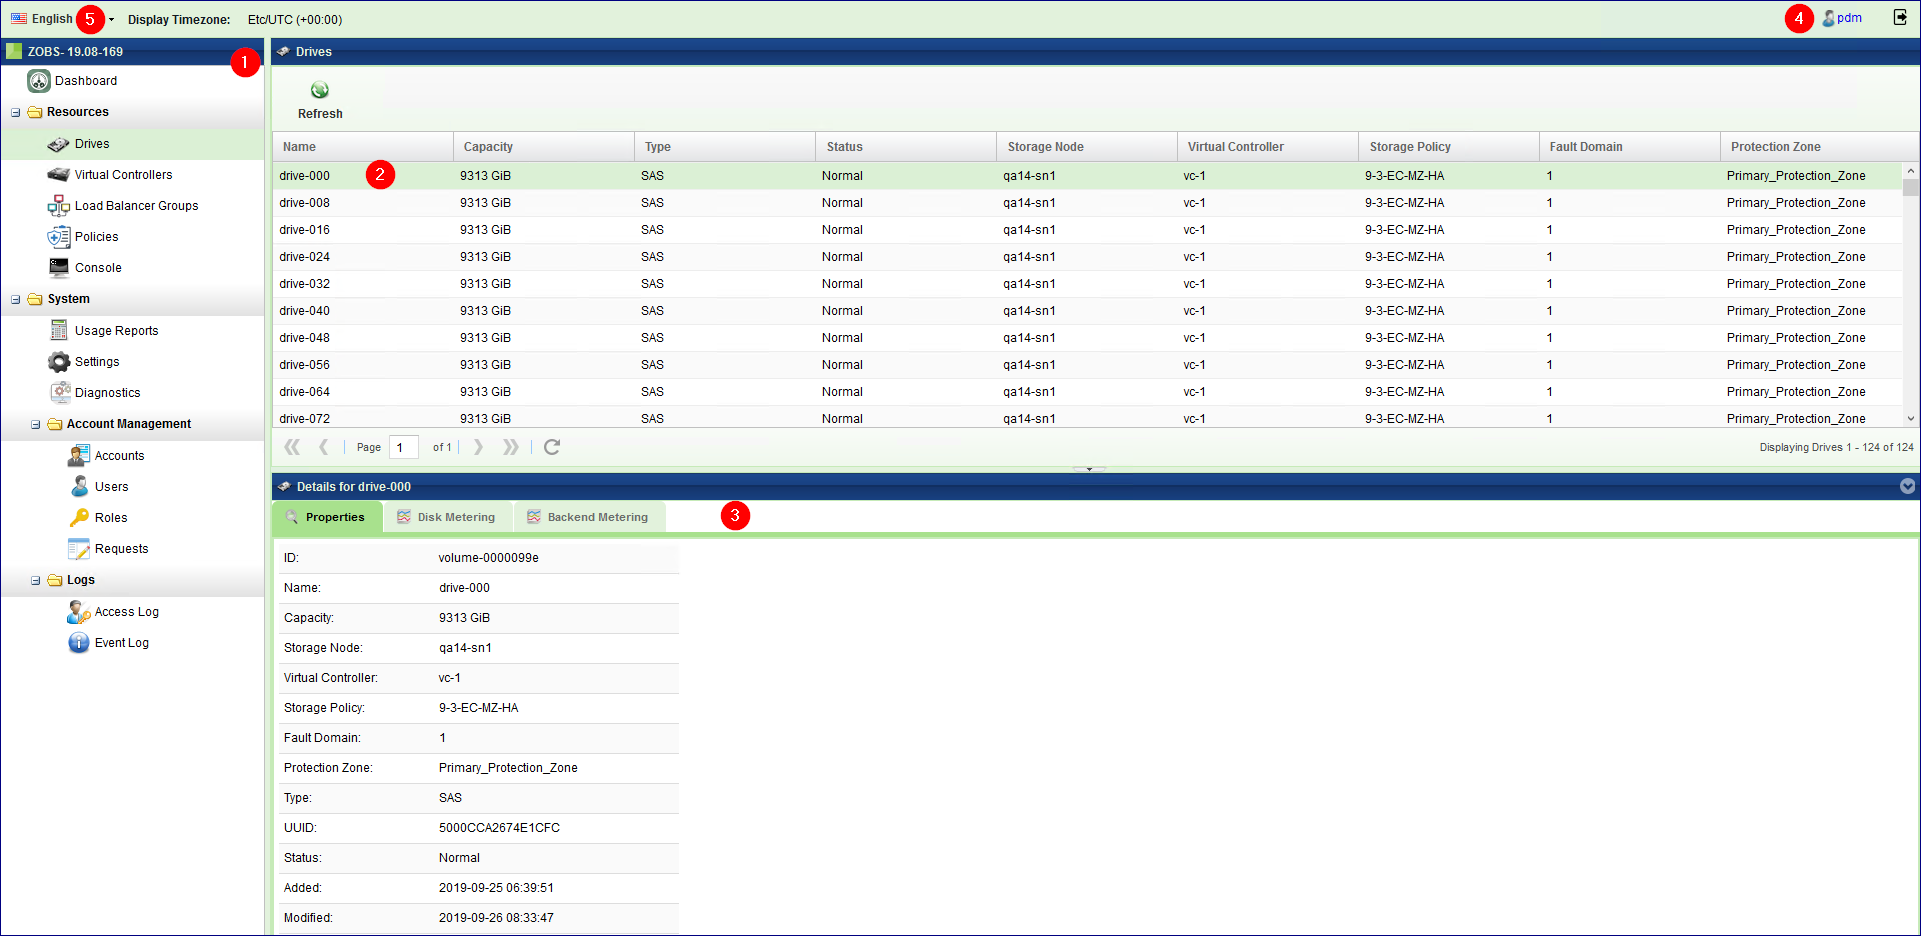
The VPSA Object Storage web management interface provides full management capabilities and control of your VPSA Object Storage, for the VPSA Object Storage Admins. It provides full management and control of the Account level to the Account admins. It contains the following main components (as numbered in the above screenshot):
Main Navigation Left Panel – traverse through the various entities. The selected entity is highlighted.
The Center Pane – displays a list of objects from the selected entity type (e.g. drives in the above screenshot example), and for each object it displays its main properties.
The South Pane – displays detailed information regarding the selected object. All objects have at least 2 tabs:
Properties – detailed properties of the object selected.
Metering – typically IO workload metering info.
Related Objects – lists of other objects related to the selected object.
Logged-in user – displayed at the upper right corner. Clicking this link opens the user’s information screen as described under the User Information (Managing Users section).
Selected Language – displayed at the top right corner. You can use this drop down to change the displayed language. Available display languages are:
English
Japanese
Korean
Deutsche
Portuguese
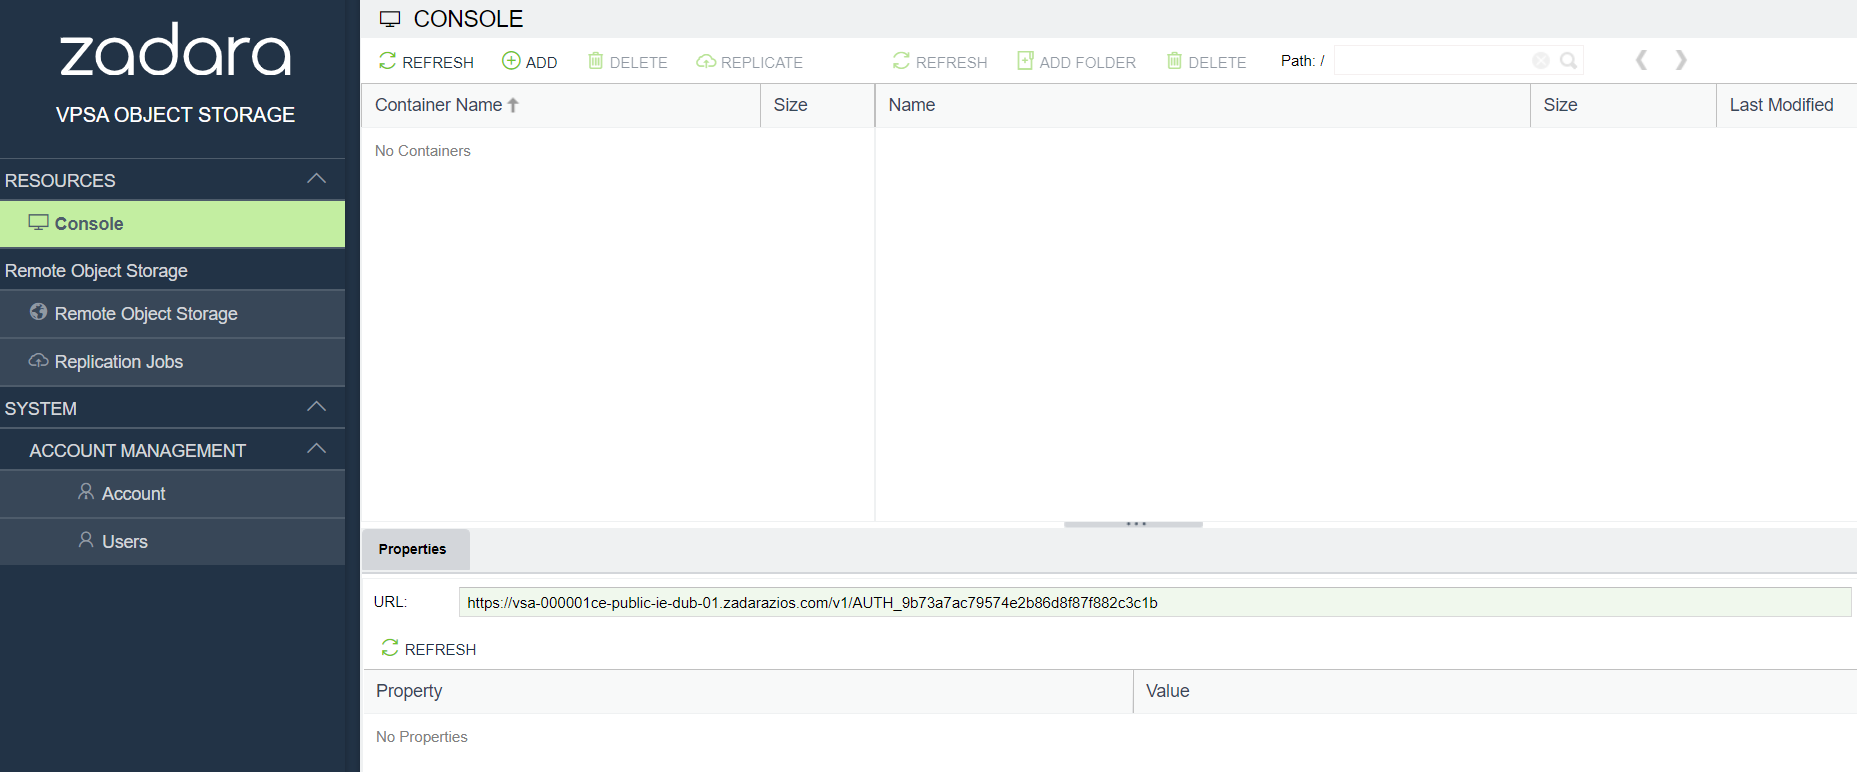
Management Interface as seen by Account admin
The web management interface as seen by the Account admin account users includes the following views:
VPSA Object Storage Console - In this view, you can create/delete and view containers and folders, and perform other functions, to help organize and manage the storage objects. For more information, see The VPSA Object Storage Console Window.
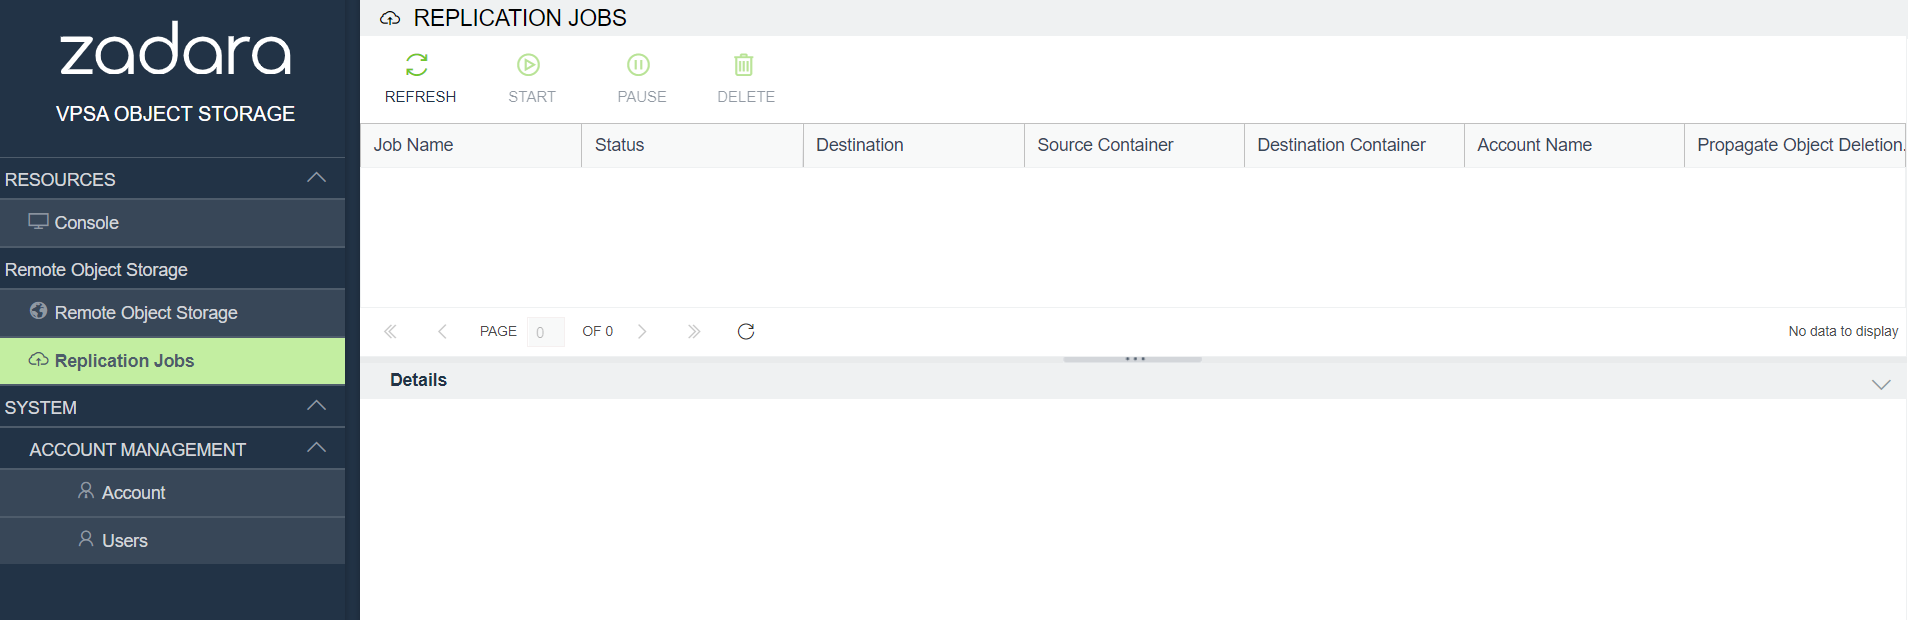
Replication Jobs
Account Management - In this view, you can view/configure account properties, permissions, and storage usage, and see lists of users associated with the account. For more information, see Managing Accounts.

Users Management - In this view, you can create/delete/enable/disable users. You can reset user passwords and see their usage statistics. You can see user properties and perform other user-level management functions. For more information, see Managing Users.
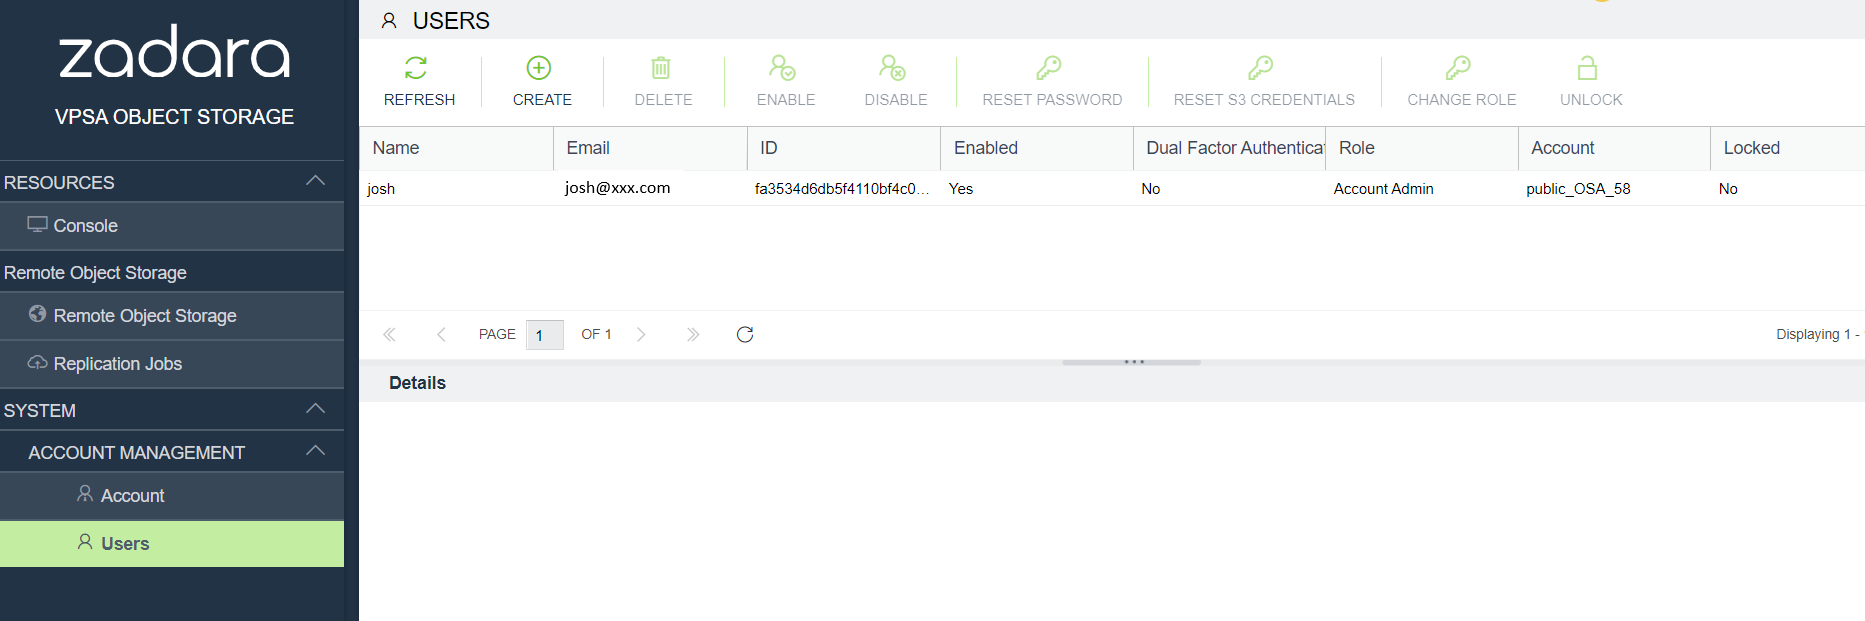
Account Member logged in user will have the VPSA Object Storage Console view only.